 Well... I raced my Z in a Speedo... man, how did that happen? Well let's catch on a fun two days trackside.
Track Night in America from the SCCA is one of my favorite events to do at Gingerman Raceway, and in June 2024 they had one scheduled the night after a public Test and Tune at the track... so it meant I could line up two days back to back with the Z at the track.
Jenn and I worked out a fun two day trip, and let's be honest there are a ton of fun things to do in South Haven, we could have stayed longer. We planned to make it a fun trip with the kids, so C and M came with us, and for the second day N came down and joined us as well. It is rare to get all three ids together so those days are special for me. I love the chance to show friends and family my racing, and while Jenn had been to the Tire Rack Track, this would be her first time to Gingerman, or any track of that type. N had also not been, so it was a lot of fun first time things. I went up straight to the track on Wednesday in the Z, and Jenn brought the kids up in her car.
The first night (6/19/2024) was a Test N Tune, technically open track for anyone with a safe car, safety equipment (helmet, etc.), and track experience. I have driven on the track man, at well over 10 events now so I know the track well. I have done laps in a 2001 Sentra, 2002 Nissan SpecV, 2008 Ferrari 380, Nissan 350Z, lots of laps in my 280Z of course, and done ride alongs in a lot of other cars.
 The test and tune nights are a little hectic, but I like the flexibility, and lots of laps. The hard part is that cars of all types of run at the same times and my little low power has a hard time tangling with C8 Vettes and real race cars. After a fun night we did my favorite post track thing... 3 Blondes Brewery... which the kids were okay with knowing they would get Sherman's shortly after.
The second day (6/20/2024) we planned beach time, more ice cream, and SCCA Track Night in a America (TNIA). So we started of course... with the beach.
It was fun, N came down so I had all three of my kiddos for the beach, we had lunch, and enjoyed tooling around South Haven, MI a little...well until I noticed that man, time is getting TIGHT! I need to get to the track soon.
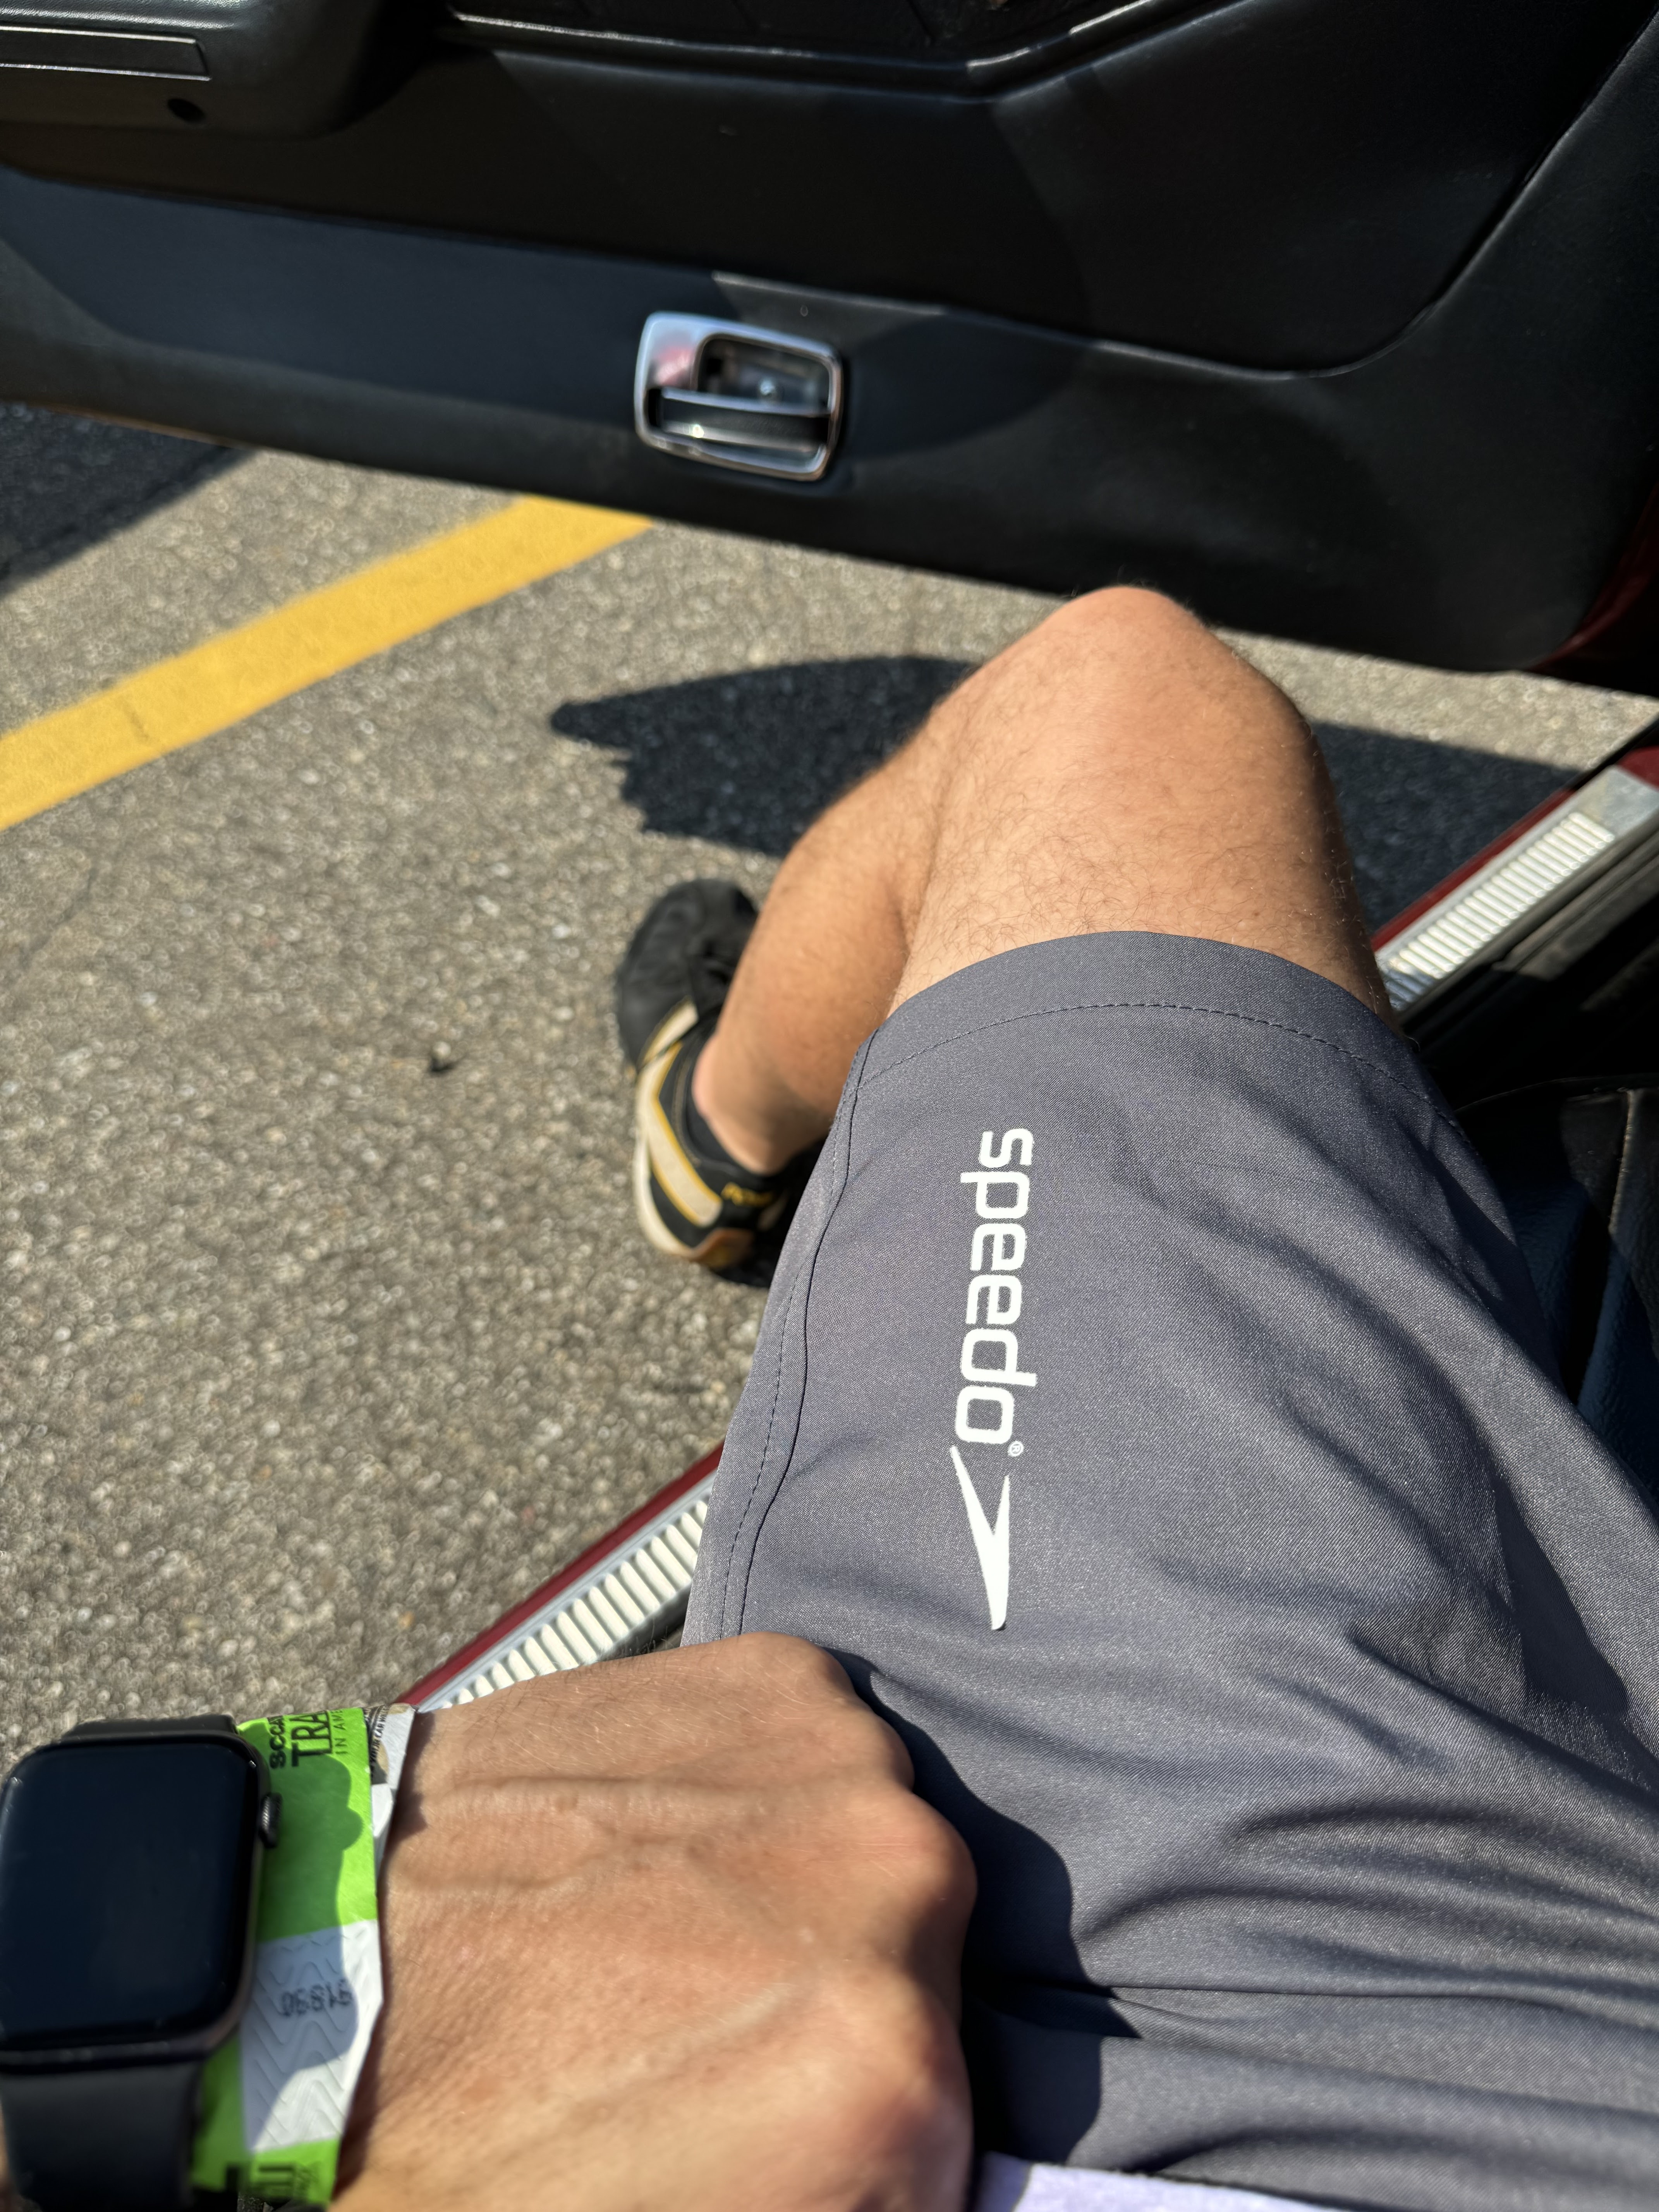
 TNIA events from SCCA are much more organized and structured event and run by my local club which makes it more fun cause it is car people I know. Also luckily they were flexible as I arrived a little tight to the start time and I was, well, still wearing my swim trunks. I am not sure I am the first guy to go racing in his swim suit, but I enjoy the story.
It was especially fun as N got to ride with me on some of the laps during the track night. I always wanted her to get some fun photography of my car on the track, and when she was in college she did a video of my car, and me doing autocross events called "Race Day." Click the link there to watch the video.
The bummer about it all... while my 1975 mostly stock car survived the track time... it took a toll on her. A week later when starting her up I noticed a gas leak in a fuel line. I tightened it all up and thought it was fine, but it got worse, and I need to find time to get her track ready again soon.
If you are wondering what race days at Gingerman Raceway are link here is another video I posted on my YouTube Channel: TNIA Gingerman Raceway. They are fun, and if you want to join me sometime let me know! Hopefully this year I get Jenn in the passenger seat for some laps!


